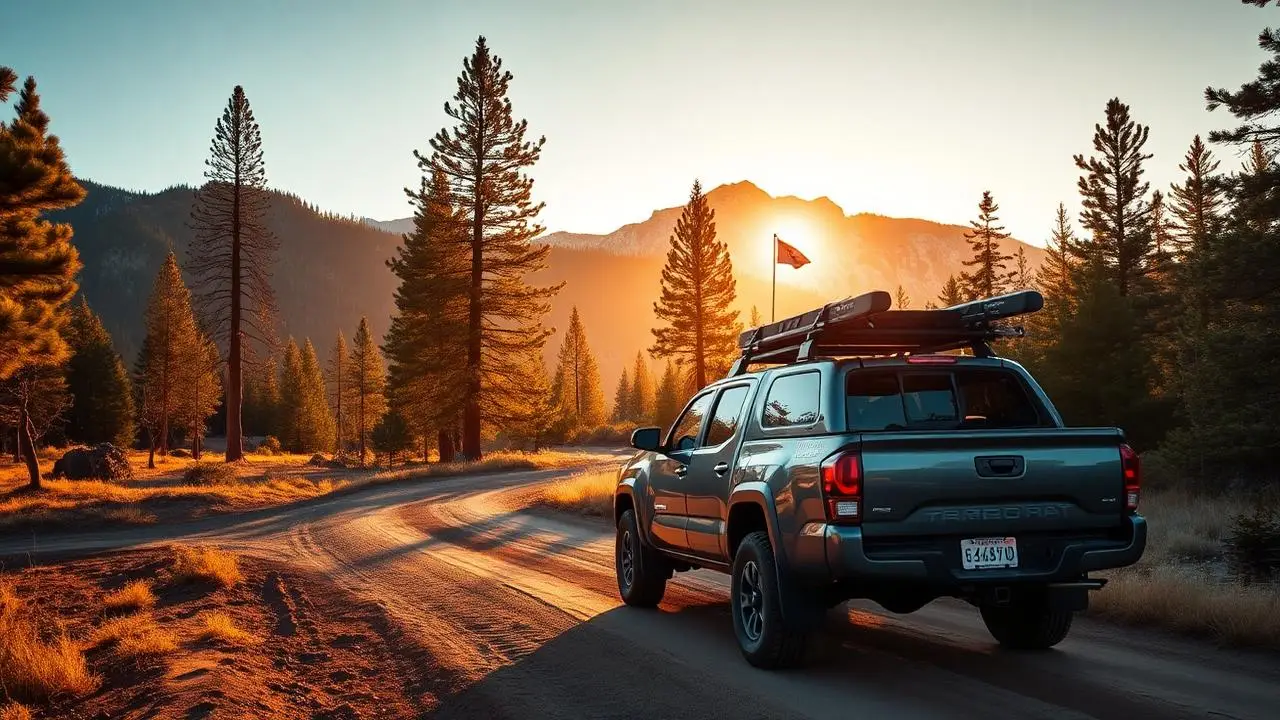
Scroll through overlanding content for ten minutes and you will start to believe that you need at minimum a two-inch lift, 35-inch mud terrains, a roof tent, a dual battery system, and a drawer setup to take a truck off pavement.
You do not.
That picture, the perfectly dialed, $80,000 rig bathed in golden hour light on a ridge in the Cascades, is not what overlanding actually looks like for most people who do it. It is the aspirational end state, not the starting point. And treating it as the entry requirement is keeping a lot of people in their driveways who should be out on the trail.
Here is the honest version: the majority of America's public land network is accessible to a stock, factory-spec 4x4. The Forest Service roads, BLM two-tracks, and dirt byways that connect most campsite-to-campsite adventure are designed to be driven, not conquered. You need a capable vehicle, a handful of gear, some navigation tools, and the willingness to go.
That is it. Everything else comes later, if it comes at all.
This article is for the person sitting on the fence because they think their unmodified Tacoma, 4Runner, Wrangler, or Bronco is not ready. It is ready. Let us talk about what that actually looks like.
What "Stock" Actually Means Here
Before we go further, let us be clear about terminology, because the overlanding world uses it loosely.
"Stock" in this context means a vehicle as it left the dealership, factory suspension, factory tires, factory bumpers, no lift kit, no aftermarket skid plates, no winch. Maybe you have added a couple accessories (a good set of recovery boards, a portable air compressor), but the vehicle itself is mechanically and geometrically what the manufacturer built.
Some factory trucks and SUVs now come with serious off-road hardware out of the box. The Toyota Tacoma Trailhunter comes with Old Man Emu dampers, an electronic locking rear differential, steel rock rails, and hot-stamped skid plates. The Ford Bronco with the Sasquatch Package ships with 35-inch tires, locking differentials, and a lifted suspension. The Jeep Wrangler Rubicon has locking differentials and sway bar disconnect as standard equipment.
Those are stock vehicles. They are also not what most beginners are driving.
What most beginners are driving is a mid-trim Tacoma 4x4, a base-spec 4Runner, a Jeep Gladiator Sport, or maybe a three-year-old Chevrolet Colorado with the Z71 package. Factory ride height. Factory all-season or all-terrain tires. No rock sliders. No lift.
This article is for that vehicle. Because that vehicle can do a lot more than its owner usually thinks.
The Truth About What Stock 4x4s Can Handle
Here is what catches beginners off guard: most of the overlanding content you see online is about the hard stuff. Rock crawling. Steep shelf roads. Deep mud. River crossings. Those environments do require serious vehicle preparation.
But that is not where most overlanding actually happens.
The backbone of the overlanding world is Forest Service roads, BLM two-tracks, county dirt roads, and maintained gravel corridors. These routes range from "confidently driven in a Subaru Outback" to "requires articulation and recovery gear." The vast majority of beginner-appropriate overlanding terrain sits firmly in the range that a stock 4x4 handles without drama.
Trail Difficulty Ratings for Stock 4x4s
Rating 1-2: Maintained gravel and dirt roads. Mild ruts, washboard surfaces, gentle grades. A stock 4x4 is overkill here.
Rating 3-4: The sweet spot for stock 4x4 overlanding. Moderate ruts, rocky sections, steeper grades, and shallow water crossings. These routes are where a 4x4 earns its keep.
Rating 5-6: The upper edge of stock capability. Passable with good technique, but marginal ground clearance starts to matter. Recovery gear stops being optional.
Rating 7+: Modified territory. Lockers, increased ground clearance, rock sliders, and a winch start making the difference.
The practical takeaway: routes rated 1 through 4 represent an enormous network of publicly accessible terrain, thousands of miles across every western state and a substantial network in the East and Midwest. You can spend years exploring that network without ever hitting the limit of a stock vehicle.
The Grand Staircase-Escalante corridor in Utah, the Rubicon Trail's easier access routes, the forest roads of the Okanogan in Washington, the two-tracks of the Ozark National Forest, the dirt byways of southern Colorado, stock 4x4 territory, all of it.
Vehicles Worth Starting With (Stock Off the Lot)
Not every factory 4x4 is created equal. If you are in the market for your first overlanding vehicle and want meaningful capability without touching the build budget, these platforms deliver serious off-road function from the factory.
| Vehicle | Key Stock Features | Best For |
|---|---|---|
| Toyota Tacoma TRD Off-Road / TRD Pro | Rear locker, crawl control, Bilstein/Fox shocks | Reliability-focused overlanding |
| Toyota 4Runner TRD Off-Road | Body-on-frame, rear locker, crawl control, high clearance | SUV overlanding with cargo space |
| Jeep Wrangler Sport 4x4 | Solid axles, NV241 transfer case, unmatched aftermarket | Budget platform with upgrade path |
| Jeep Wrangler Rubicon | Rock-Trac 4:1, front/rear lockers, sway bar disconnect | Most technical stock capability |
| Ford Bronco (Sasquatch) | 35" tires, 2.5" lift, locking diffs, 4.70:1 low range | Most aggressive factory package |
| Chevy Colorado ZR2 | Multimatic DSSV dampers, front/rear e-lockers, skid plates | Underrated daily-driver overlander |
| Ford F-150 FX4 | E-locking rear diff, hill descent, skid plates, AT tires | Full-size payload and towing |
What you will notice about this list: these are all mainstream, dealership-available vehicles with factory warranties, known reliability records, and, critically, dealer service networks in most of the regions where you will be traveling. That matters when something goes wrong 200 miles from the nearest city.
The Gear That Matters More Than the Mods
Here is where the experienced overlanding community and the Instagram overlanding community diverge most sharply: gear versus vehicle.
The $500-600 Starter Kit
The complete starter kit, enough to get you on the trail safely and comfortably, runs roughly $500-600. Here is what that includes:
Navigation: $50-80 (app subscription)
This is the most important tool in the truck, and it costs almost nothing. Download Gaia GPS, onX Offroad, or CalTopo on your phone. Buy the annual subscription. Download offline maps for your region before you leave cell service. Learn to read topographic lines and trail designations before you go.
Do not skip this step. A wrong turn on a two-track that ends in a washed-out canyon 14 miles from the nearest paved road is a fixable inconvenience with a map. It is a genuine emergency without one.
Air compressor and tire deflator: $80-150
This is the first physical gear purchase that meaningfully changes what your stock vehicle can do. Airing down your tires, to 20-25 PSI off-road from the typical 35-38 PSI on-road, increases the tire's contact patch with the terrain, dramatically improving traction on loose dirt, sand, and rock. It is the cheapest performance upgrade available and it requires no modifications.
Tire Air Down Calculator
Find the ideal PSI for sand, mud, rocks, and snow with contact patch visualization
Recovery boards: $100-200
MAXTRAX and Tred Pro are the name brands; adequate alternatives exist for significantly less. Recovery boards slide under a stuck tire to give it something solid to grab, and they work in sand, mud, and soft dirt where your tires are just spinning. They are light, compact, easy to store, and require zero mechanical knowledge to use effectively.
For a stock vehicle doing moderate terrain, recovery boards solve 80% of the "stuck" situations you are likely to encounter. A hi-lift jack covers most of the rest. Together they are the core of a beginner recovery kit.
Basic tool kit and vehicle-specific spares: $50-100
Carry the tools required to handle the most common breakdown scenarios for your specific vehicle. At minimum: a jack rated for your vehicle's weight, lug wrench, jumper cables or a jump starter, basic hand tool set (sockets, wrenches, pliers, screwdrivers), duct tape, zip ties, and a tire plug kit with a quality hand pump.
First aid kit: $50-100
A backcountry-appropriate kit, not the four-bandage box from the gas station. You want wound closure strips, gauze pads, medical tape, antiseptic, nitrile gloves, a CPR face shield, an emergency blanket, a tourniquet, and a basic medication assortment.
Sleeping and shelter: $100-200
Start with a quality sleeping bag rated 10-15 degrees below the lowest temperature you expect to encounter. Add a sleeping pad with decent insulation value, the ground pulls heat from your body far faster than air does, and a cheap foam pad matters more than a premium sleeping bag on a cold night.
Before You Buy a Rooftop Tent
Water and food: under $50
One gallon of water per person per day as a minimum. Carry two days more than you plan to need. A quality water filter (Sawyer Squeeze or similar) is an inexpensive backup for extended trips near water sources. A single-burner camp stove, a lightweight pot, and a cup cover everything.
Gear Loadout Builder
Build a custom gear checklist for your vehicle across recovery, camping, navigation, and safety
One Upgrade Worth Considering Early
There is one modification that the overlanding community almost universally agrees on as the first worthwhile change to a stock vehicle: tires.
Factory all-season tires, the ones that ship standard on most midsize and full-size 4x4s, are optimized for on-road comfort and fuel economy, not off-road traction. They have shallow, close-spaced tread that clogs with mud, compresses on rocky terrain, and provides limited grip on loose dirt.
All-terrain tires are a meaningful upgrade. They provide better off-road traction, better puncture resistance (critical when you are driving over rock fields far from a tire shop), and better performance in light mud without significantly compromising on-road manners.
First Tire Upgrade Budget
Tire Size Calculator
Compare tire dimensions, calculate speedometer error, and find equivalent metric/standard sizes
Beyond tires, the experienced overlanding community consistently gives the same advice for first-year builds: wait. Get out. Drive the terrain. Let the vehicle show you where its limits are.
How to Plan Your First Trip
Theory is good. The first trip is better. Here is a practical framework for making your first stock-vehicle overlanding trip successful.
Pick a destination rated 1-3. Your first trip should not be a test of your vehicle's limits. It should be an introduction to the experience, the navigation, the camping, the solitude, the pace. Pick a destination within 2-3 hours of home with well-documented routes.
Download everything offline before you leave cell service. Maps, satellite imagery, the Gaia or onX route you are following, the downloaded PDF of the Motor Vehicle Use Map.
Tell someone your exact plan. Trailhead location, route name, campsite target, expected return time, and what to do if you have not checked in by when. This is baseline backcountry practice.
Air down before you hit dirt. Get comfortable with the air-down process before your first trip. Practice in your driveway. Know your target PSI for dirt roads (typically 25-28 PSI) versus rocky terrain (20-22 PSI).
Drive slower than you think you need to. Washboard roads are brutal on suspension components at speed and manageable at 15-20 MPH. Rocky terrain that causes damage at 25 MPH is easy at 8 MPH. Speed is the enemy of both comfort and vehicle longevity on unpaved roads.
Camp a night, not just a day. The point of overlanding, as distinct from off-roading, is the journey and the camp. Stay the night. Wake up where you drove to. That is when overlanding stops being an activity and starts being something you think about for weeks afterward.
Campground Matchmaker
Search 6,900+ campgrounds scored by budget, amenities, seclusion, and your camping style
When You Will Know It Is Time to Modify
There is a reliable signal that your vehicle needs modification: it stopped getting where you wanted to go.
Not "almost got stuck" or "felt sketchy for a minute", actually hit a limit. Your tires could not find traction. Your ground clearance was genuinely insufficient. You needed a winch point and did not have one. You hit a situation where you made the correct decision to turn around, but the situation was not exceptional.
That is when you modify. Not before.
Common Upgrade Sequence
The most common upgrade sequence among experienced overlanders:
- All-terrain tires (first, always)
- Modest suspension lift (1.5-2 inches)
- Recovery gear beyond the basics (hi-lift jack, longer straps, potentially a winch)
- Skid plate protection (if terrain calls for it)
- Auxiliary lighting (if regularly moving at dusk)
Notice that dual battery systems, rooftop tents, drawer builds, and roof racks do not appear until well into that sequence. They are comfort upgrades, not capability upgrades.
Build Budget Planner
Plan your overland build with realistic cost estimates across 9 mod categories
The Shortest Path to Your First Overlanding Trip
Pull up Gaia GPS or onX Offroad. Search for Forest Service roads or BLM routes within three hours of home. Look for something rated 2-3, 20-50 miles round trip, with a campsite at or near the end. Read a trip report or two to confirm current conditions. Download the maps offline.
Pack your sleeping bag, sleeping pad, tarp or tent, two days of food, two days plus of water, your air compressor, your deflator, your recovery boards, your first aid kit, and your basic tool kit.
Air down when you hit dirt. Drive slower than you think you need to. Pay attention to your surroundings. Sleep somewhere you drove to. Wake up there.
That is overlanding. You can do it this weekend in whatever 4x4 you currently own.
The lift kit can wait. The drawer system can wait. The rooftop tent, the ARB fridge, the dual battery bank, they can all wait until you have gotten out enough times to know exactly what you want from them.
Go first. Upgrade with purpose. That is the play.
A Note on Getting Unstuck
Every overlander gets stuck eventually. That includes experienced drivers in well-built rigs. Getting stuck is not a failure of preparation or judgment, it is a normal part of spending time on unpaved terrain. What matters is how you respond to it.
With recovery boards and a basic understanding of how to use them, most stuck situations in moderate terrain resolve themselves without outside help. Deflate the stuck tire further if you are in sand. Clear material from in front of the tires. Slide the boards under the drive wheels. Move the vehicle forward or backward with deliberate, controlled throttle, not spinning the wheels harder.
If boards are not enough, a hi-lift jack combined with boards works for nearly everything a stock vehicle encounters on beginner terrain. The key is to carry the gear and practice using it at home, in a low-stakes situation, before you need it in the field.
The goal is not to be prepared for every possible scenario from day one. The goal is to be prepared for the scenarios that are actually likely on the terrain you are actually planning to drive. That list is shorter than the overlanding gear industry would like you to believe.
Start Now, Not Later
The overlanding world has a gatekeeping problem. It does not come from malice, it comes from enthusiasm. People who have spent years refining their builds and skills genuinely love the hobby and want to talk about the gear and the modifications. But the cumulative effect, especially online, is a picture of the hobby that looks expensive and intimidating to get into.
It is not. The barrier to entry is lower than it has ever been, with better navigation apps, better trail documentation, and more beginner-friendly route options publicly available than at any point in the history of off-road recreation.
You have a 4x4. You have a weekend. The terrain is out there.
The best overlanding rig is the one you take out this weekend. Everything else is refinement.