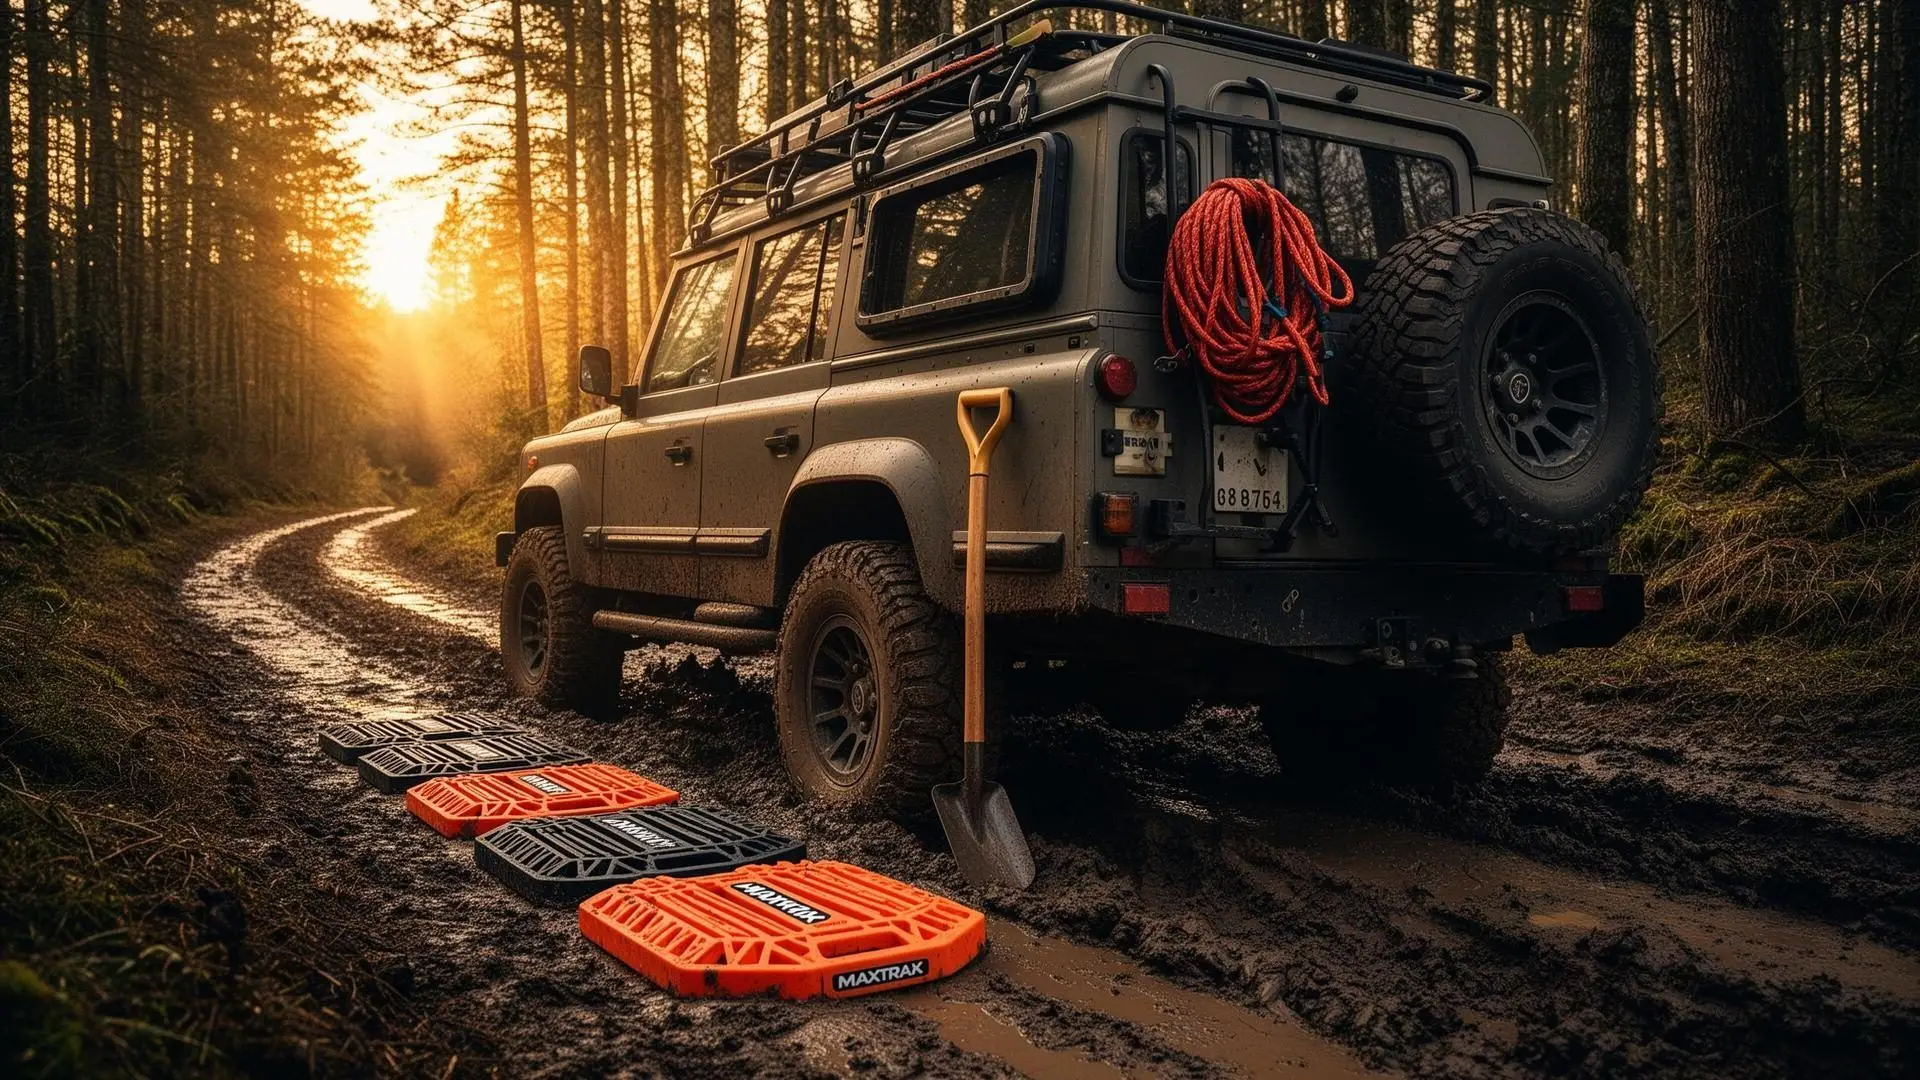
Most overlanding recovery gear guides tell you what exists. They do not tell you what to buy first, what actually works, or why the most photographed tool in the community might be the last thing you should reach for.
This guide does. Every recommendation below is ranked in the order you should buy it, based on manufacturer ratings, the failure patterns owners report on the major forums, and the recovery sequence experienced wheelers follow when a rig stops moving.
Quick answer: Buy overlanding recovery gear in this order: traction boards, a deflator and compressor, a real shovel and gloves, then a kinetic rope and soft shackles once you travel with a partner, and a winch only if you wheel alone. The first four handle most stuck situations for under $600.
Build Your Kit in Tiers, Not by Instagram
Most people build a recovery kit the way they build a rig: by adding things until it looks ready. The problem is that recovery gear only matters when things go wrong, and that is the worst time to discover what you are missing.
Build in tiers instead. Tier 1 is what you carry every time you leave pavement, even on easy trails. Tier 2 is what you add for moderate terrain and group trips. Tier 3 is for solo travel and technical runs where you have already proven you need it.
Tier 1: Carry This Every Time You Leave Pavement
Traction boards: buy these first
If you could only carry one piece of recovery gear, traction boards are the correct answer for 95 percent of overlanders. They self-recover. They work when you are alone. They work in sand, mud, snow, and loose rock. No second vehicle, no tree, no anchor point required. Place them in front of or behind the tires, ease onto them, drive out.
Three tiers exist, and the price difference tracks the construction difference:
| Board | Price (pair) | Construction | What owners report |
|---|---|---|---|
| MAXTRAX MKII | About $300 | UV-stabilized engineering-grade nylon, molded teeth | Teeth stay sharp through years of use; the benchmark the others are measured against |
| X-Bull | About $130 | Reinforced nylon, molded teeth | Legitimate for casual use; teeth wear or chunk faster under aggressive wheelspin |
| Generic sub-$100 boards | $60 to $100 | Thinner plastic, often less UV protection | Cracking under load in cold weather and on rock is the common complaint |
The verdict: MAXTRAX are worth the premium if you will use them more than a few times a year. X-Bull is a real option for the occasional wheeler at less than half the price. The cheapest boards are fair-weather gear, and the trail is not always fair weather.
Carry two boards minimum, four if you run heavy sand or deep snow regularly. Look for rigid construction, aggressive teeth, and leash points. Avoid flexible plastic boards that just spin under the wheels.
One honest limit: boards will not fix a winch-required situation where the rig is buried past the rockers or off a ledge. Those recoveries are rare. Getting stuck in sand on a forest service road is not.
An air-down and inflation system
Airing down is the most effective recovery technique most people still do not use aggressively enough. Dropping a stock tire from 35 psi to 18 to 20 dramatically increases the footprint and often prevents the stuck in the first place. The air-down guide covers pressures by terrain.
You need two things. First, automatic deflators (Staun or ARB) that you set once and clip on all four valves at the same time; even the $20 sets do the job, just slowly. Second, a compressor to air back up before pavement. The ARB Twin is the standard at around $500 installed. The Viair 400P is the portable entry point at about $150 and fills a 33-inch tire in roughly 4 minutes. The 12V big-box specials are not worth your time on the trail. Minimum spec is 3 CFM or better.
A real shovel
Not a flimsy folding camp shovel. The Radius Field Tools D-handle or the DMOS Stealth are both worth the money. When boards alone are not enough because packed mud is trapping the tires, digging is what solves the problem. The ultralight trail shovels have a well-earned reputation for bending on the first serious dig. This is the least glamorous item on the list and one of the most useful.
Gloves, first aid, and communication
Heavy leather work gloves protect your hands from rope burn, cable splinters, and sharp rock. Every kit needs a pair. Carry a trauma kit and know how to use it, because recovery situations turn into medical situations. If you travel beyond cell service, carry a satellite communicator like a Garmin inReach. A recovery gone wrong with no way to call for help is a far worse problem than being stuck.
Tier 2: Add This for Moderate Terrain and Group Trips
Kinetic recovery rope
A kinetic rope stretches under load, stores energy, and releases it as a surge that pops a stuck vehicle free. It is fast and clean in the right situation. That situation requires a second vehicle. If you travel solo, a kinetic rope sits in the truck doing nothing every time you need it. Buy it once you have a trail partner, not as your first tool.
Specs that matter: 7/8-inch by 30 feet for midsize and half-ton trucks, 1-inch for loaded full-size, 1-1/4-inch for vans and HD trucks, with breaking strength around four to six times the lighter vehicle's loaded weight. Factor 55, Bubba Rope, and Yankum all make rated options in the $150 to $265 range, and the full sizing math is in the kinetic recovery rope guide. The ARB snatch strap at 17,600 pounds and roughly $95 is the reference point most owners compare against; the Rhino USA 3-inch by 30-foot strap at about $65 is the common budget pick.
The category to avoid is the unbranded $25 to $30 strap with no published breaking strength. The failure mode owners describe is the same every time: the loop stitching lets go mid-pull and the recoil goes wherever it wants. This is the one category where cheap can kill you. If the gear has no verified breaking strength, do not trust it.
One rule with no exceptions: never use a kinetic rope with metal hooks. The stretch stores enormous energy, and a failed hook becomes a projectile.
Soft shackles and hard shackles
Soft shackles are made from HMPE (Dyneema). A 3/8-inch Factor 55 Extreme Duty soft shackle is rated at 43,500 pounds, weighs 6.5 ounces, and will not become a 2.5-pound steel projectile if it fails. Sharp edges and friction heat kill them, and quality ones from Factor 55 or ARB cost $70 to $95 each. Hard shackles from Crosby or equivalent are nearly indestructible, easy to inspect, and cheap, but they are heavy and dangerous if something upstream fails.
The setup experienced wheelers settle on: hard shackles on the rated recovery points as primary connections, plus two to four soft shackles in the bag for awkward angles and rope-to-rope connections. Match the working load limit to your rope's breaking strength, and skip anything unrated.
Tree saver strap
A wide flat strap that wraps around a tree to protect the bark when you use it as an anchor. Required in most off-road areas, because a cable or rope run directly around a trunk can kill the tree. Minimum 3 inches by 8 feet, nylon or polyester. Buy a rated one from a reputable brand.
Tier 3: Solo Travel and Technical Terrain
Winch
The winch is the most debated purchase in overlanding. Here is the actual answer: a winch is the best solo self-recovery tool available. If you wheel alone or go where there may not be another truck for hours, you need one. If you always travel with capable friends, traction boards and a good rope handle 90 percent of stuck situations.
The owners who keep logs tell the same story. Over a year or two of regular wheeling, the winch comes out a handful of times. Every other recovery is boards, straps, a shovel, or reverse gear. But those few situations have no other solution.
Sizing: 1.5 times your gross vehicle weight. A 9,500-pound winch covers a 5,500-pound Tacoma. A loaded full-size truck needs 12,000 pounds minimum. The Warn VR EVO 10-S with synthetic line at around $1,100 installed is the mid-range reference point, and mid-range is the right target. Sub-$400 budget winches exist, and the forum threads about motors dying and clutches slipping at the worst possible moment are long. When you need a winch, you really need it. The winch buying guide breaks down sizing, brands, and rigging.
Electric is the right answer for overlanding. Hydraulic winches are for competition rigs. And know the caveat: a winch is only as useful as the anchor point available. In forests and canyons it is incredibly capable. On open desert flats with no trees, it may not save you.
Winch accessories
A winch without accessories is a partially functional tool. You need a line damper (a weighted bag draped over the line to kill recoil if it breaks), a tree saver strap, a snatch block, and at least one shackle. The snatch block doubles pulling power and redirects the pull. If you have a winch, you need a snatch block. Period.
Hi-Lift jack: useful, dangerous, overphotographed
The Hi-Lift is the most photographed piece of overlanding gear in existence. It is also the most dangerous tool in most kits. The reversing clutch kicks the handle violently backward if you reverse direction incorrectly. People have lost teeth and broken wrists. Every experienced overlander knows someone who has been hit by one.
It still earns a place, with training. A basic $100 farm jack will lift a Jeep with a blown tire 20 miles from pavement, which is the whole reason it has the reputation it has. For beginners, the ARB Hi-Jack (around $250) replaces the clutch with a hydraulic system and a controlled lowering valve, and it is worth every dollar. An exhaust jack is the alternative for soft ground where a Hi-Lift base sinks.
Check your bumpers first. A Hi-Lift needs rated lift points, and factory plastic bumpers usually have none. A 12-ton bottle jack on a wood block base covers most tire changes for less money and less risk.
Tire plug kit
A Dynaplug or Stop & Go kit with proper mushroom plugs, not the string kits from the auto parts store. Combined with your compressor, a plug takes five minutes and saves your spare. On rocky terrain this gets used more than almost anything else in the kit.
Rated recovery points
None of the above works if your vehicle has nowhere safe to connect it. Most factory hooks are rated for tie-down, not dynamic recovery loads. Never recover from a bumper or body panel. Aftermarket steel bumpers from ARB or Warn include rated shackle tabs. On a stock bumper, check the owner's manual and add a receiver-mounted recovery point like the Factor 55 HitchLink before you trust any anchor.
The Recovery Sequence That Actually Works
When you get stuck, the instinct is to grab the biggest, most dramatic tool. Wrong. Work this order instead.
Assess first. Is the problem traction or clearance? If you are high-centered with tires spinning freely, boards alone will not fix it; you need to lift and place them. If you are spinning with full tire contact, boards go first.
Air down if you have not already. It costs nothing and takes 90 seconds. Shovel before boards, because boards work far better when the tire has a clean surface to roll onto. Boards before rope or winch. Winch if boards are not enough: tree saver on the anchor, snatch block if you need a direction change, soft shackle connections, damper on the line, pull slowly with pauses. Kinetic rope last, and only with a second vehicle and a clear escape route.
What to Skip
Pretty recovery bags. The $120 "overland" bags with the logo on the flap are the item owners most often report failing at the zippers within a season. A $15 hardware store tote does the job and outlasts them. Spend money where failure is dangerous (ropes, shackles, winch) and save it where failure is inconvenient (bags, organizers).
Static tow straps used as snatch straps. A tow strap has no stretch. Using one for a dynamic pull shock-loads both vehicles and can cause structural damage. Carry one for towing a dead rig or as a winch extension, and keep the jobs separate.
Anything unrated, anything with metal hooks sewn in, and anything worn. Inspect your gear before every trip and retire what is damaged.
Three Kits by Budget
Budget kit, $300 to $500: kinetic rope, four soft shackles, tree saver, leather gloves, folding shovel, tire plug kit. Complete kit, $800 to $1,200: add a pair of traction boards, a portable compressor, a jack, and a tote to organize it. Full-send kit, $2,000 to $3,500: add a second pair of boards, a quality winch with accessories, onboard air, rated recovery points, and a satellite communicator.
A kit in the $700 range covers the large majority of what a weekend overlander will ever face, including pulling out strangers. Spread over a few years of trips, that is cheap insurance.
Practice Before You Need It
Having the gear is half the equation. Practice kinetic pulls with a friend in a field. Learn the Hi-Lift on flat ground. Run a practice winch pull against a tree before you are stuck. Set up every tool at home once before it rides in the truck. The overlander with a $700 kit they know beats the one with a $5,000 kit they have never touched.
What to Buy First
Start with traction boards and a compressor. Add a shovel, gloves, and a plug kit. Buy a kinetic rope when you have a trail partner and a winch when you wheel alone. Spend real money on anything that stretches or bears load. Skip the Instagram shopping list.
And use your gear. The best recovery kit in the world is useless if you are afraid to get it dirty.