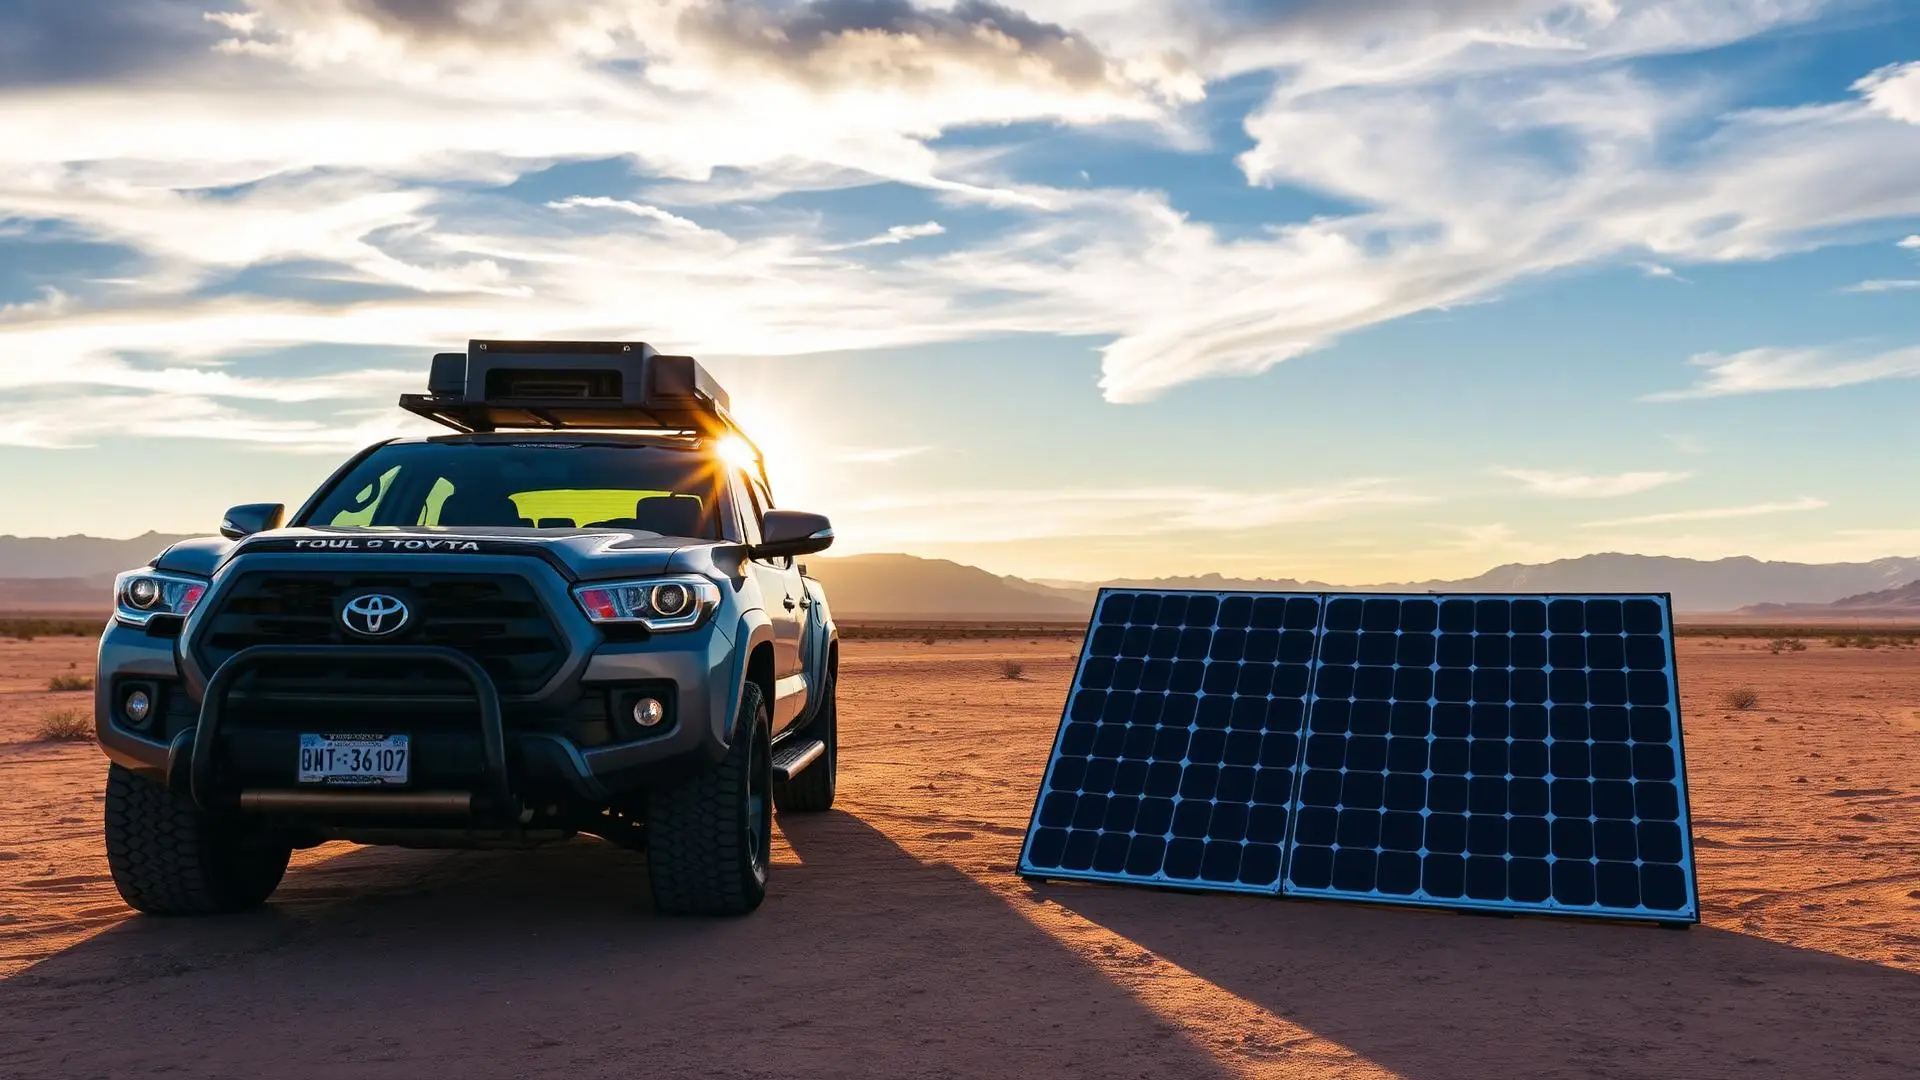
Search "overlanding solar setup" and you will find guides built around 400-watt roof arrays, 200Ah lithium banks, and inverter chargers wired into a van's cabinetry. None of that scales to a Tacoma or a 4Runner. The gap between van life electrical systems and what an overlanding truck actually needs is enormous, and most people trying to bridge it either overbuy a system they do not need or undersize a setup that fails them on the third night.
This guide is built for a truck or SUV running a 50-liter compressor fridge, charging a couple of devices, and staying off-grid for two to seven nights at a time. The math is done. The honest system options are laid out. The van life advice has been left out entirely.
Start With the Math, Not the Hardware
The most common mistake in any electrical system build is buying components before understanding what you actually need to power. Start with daily consumption, then size backward to storage and generation.
What a Typical Overlanding Truck Actually Draws
A compressor fridge is the anchor load in most overlanding setups. A Dometic CFX3 50-liter running at moderate ambient temperature (around 75°F) and set to 38°F draws roughly 0.6 to 0.8 amp-hours per hour on average. That duty cycle rises significantly in heat: at 90°F ambient, the same fridge can pull 1.3 to 1.8 Ah/hr as the compressor runs longer to maintain temperature. Over a 24-hour day, you are looking at 15 to 30 amp-hours for the fridge alone, depending on conditions. Call it 20 Ah for moderate conditions as a working baseline.
Device charging adds the next load. A smartphone on a 20-watt USB-C charger pulls about 1.7 amps and fully charges in two to three hours. That is roughly 4 Ah per phone per day. A laptop on a 65-watt charger draws 5.4 amps and takes one to two hours to top off: about 8 Ah per charge. Add a Garmin InReach (negligible), camera batteries (3 to 5 Ah per charge), and LED camp lights (1 to 3 Ah per night) and a realistic daily device load for two people is 10 to 20 Ah.
Total daily consumption for a typical overlanding truck setup: 30 to 50 Ah.
That number is the foundation of everything that follows. If a salesperson or a YouTube video is telling you that you need 400 watts of solar and a 200Ah battery to run a fridge and charge your phone, you can now do the math yourself and disagree with confidence.
The Buffer You Actually Need
Batteries are not fully usable. An AGM battery should not be discharged below 50% of its rated capacity without significantly shortening its lifespan. A 100Ah AGM battery has 50 usable amp-hours. A lithium iron phosphate (LiFePO4) battery can be discharged to 80 to 90% of its rated capacity safely, giving you 80 to 90 usable amp-hours from a 100Ah cell.
At 30 to 50 Ah of daily consumption, a 100Ah LiFePO4 battery gives you roughly one and a half to two days of reserve before solar or driving recharges it. For most weekend trips, that is adequate. For week-long trips off-grid with limited sun, 100Ah LiFePO4 is the working minimum and 200Ah is the comfortable target.
The Three Solar System Options for Truck Overlanders
There is no single right answer. There are three system architectures that each make sense under different conditions. Understanding which one matches your trips is worth more than any specific product recommendation.
Option 1: The Power Station (No Installation Required)
A portable power station is an all-in-one unit: lithium battery, inverter, charge controller, and multiple output ports built into a single box. The Jackery Explorer 1000 Pro (1002Wh), Goal Zero Yeti 1000X (983Wh), and EcoFlow Delta 2 (1024Wh) are the most common in the overlanding community. At 12-volt equivalent, 1002Wh translates to roughly 83 amp-hours of usable storage.
These units charge from three sources: your vehicle's 12-volt accessory port while driving, a wall outlet before you leave, and a portable foldable solar panel at camp. A 100-watt foldable panel (Jackery SolarSaga 100, Goal Zero Boulder 100, Renogy 100W Portable) deploys from its carry bag and connects directly to the station.
The honest performance: a Jackery 1000 Pro starting at full charge runs a Dometic CFX3 50 for three to four days before it needs meaningful recharge. Add four to six hours of driving per day and the 12-volt charging roughly keeps pace with fridge consumption at moderate ambient temperatures. Add a 100-watt portable panel and you are comfortably energy positive on most non-cloudy days.
Who this is right for: Overlanders doing two to five day trips who do not want to wire anything into their vehicle. People who use the same power unit for car camping, backpacking basecamp, and home emergency backup. Those who want to start simple and understand their actual usage before committing to a hardwired system.
The real limitations: Your factory 12-volt port typically delivers 120 to 180 watts. Charging a 1000Wh station from 20% to full via the 12-volt port takes five to seven hours of driving. For multi-day trips with limited sun and short driving days, the math can get tight. These stations also do not integrate with your vehicle's electrical system, so they cannot power a winch, run a HAM radio off a shared battery, or feed into your truck's fuse block.
Approximate cost: $800 to $1,300 for a quality 1000Wh station plus $130 to $200 for a 100-watt portable panel. Total: $950 to $1,500.
Option 2: Dedicated Auxiliary Battery with DC-DC Charging
This is the system most overlanders eventually land on after their first power station. A secondary battery mounted in the vehicle, charged by the alternator while driving and by solar while parked, powering the fridge and devices through a wiring harness.
The critical component most people get wrong is how they connect the aux battery to the alternator. A simple battery isolator, the traditional approach, does not work correctly with any vehicle newer than roughly 2015. Modern trucks use smart alternators with variable voltage output, a system designed to reduce alternator load at steady highway speeds and recover energy during deceleration. A traditional isolator interprets the variable voltage as a low-battery signal and responds erratically, sometimes charging the aux battery from the starter battery rather than from the alternator.
The correct solution for modern vehicles is a DC-to-DC charger (also called a DCDC charger or battery-to-battery charger). This device sits between your alternator circuit and your auxiliary battery, actively converts the voltage, and charges the aux battery at the correct profile for its chemistry. The Redarc BCDC1225D is the most commonly recommended unit in the overlanding community at around $310. It outputs 25 amps, has a built-in MPPT solar charge controller (so your solar panel plugs directly into it rather than needing a separate controller), and handles the isolation function automatically. It is effectively three components in one box.
Victron's approach is modular: the Victron Orion-Tr Smart handles alternator-to-battery charging and a separate Victron SmartSolar MPPT handles solar input. More components, more monitoring capability through the Victron app ecosystem, and roughly $250 to $350 for both units combined. The Victron path makes more sense for complex builds. The Redarc makes more sense for straightforward truck setups.
Solar panel for a fixed system: A 100-watt rigid panel mounted on a roof rack generates roughly 30 to 35 amp-hours on a good day in decent sun (five sun hours at 85% system efficiency is about 425 watt-hours, or 33 Ah at 12.8 volts). That covers a 25 to 30 Ah daily budget and recharges a typical overnight deficit. A 30 to 50 Ah budget, cloudy days, and high-shade forest camping call for a 200-watt setup, which doubles the harvest.
Who this is right for: Overlanders doing trips of four nights or longer. Anyone doing multiple trips per month. People who want the fridge to run while driving without depleting the starter battery. Builds where the aux battery also feeds lighting, a compressor, or communications gear.
Approximate cost: 100Ah LiFePO4 battery ($280 to $500), Redarc BCDC1225D ($310), 100 to 200-watt rigid panel ($100 to $250), wiring, fuse block, and hardware ($80 to $150). Total: $770 to $1,200 in components, plus installation time or labor.
Option 3: The Hybrid (Power Station Plus DC-DC Charging)
The third architecture is less discussed but genuinely useful: a portable power station as the aux battery, with a dedicated DC-DC charger wired between your alternator circuit and the station's 12-volt input. This bypasses the slow factory 12-volt port and charges the station at 25 amps instead of 10 to 15 amps, cutting charge time roughly in half.
This works well for overlanders who want the flexibility of a portable station (move it between vehicles, use it at home) without the slow recharge speed that limits the stock setup. The wiring is simpler than a full aux battery build because the station handles its own battery management internally.
Solar Panels: Portable vs. Fixed vs. Hood-Mounted
Portable Foldable Panels
The entry point. A 100-watt foldable panel (Renogy 100W Portable Foldable, Jackery SolarSaga 100, Bluetti PV200) folds to briefcase size, sets up in thirty seconds, and can be angled toward the sun regardless of where the vehicle is parked. The efficiency of foldable panels is slightly lower than rigid equivalents because they typically use monocrystalline cells laminated onto a fabric backing, but the difference in real-world output is modest.
The practical advantage of portable panels for overlanding is significant: you can position the panel in full sun while the vehicle sits in shade, which matters enormously in desert summer and forest camping. A rigid roof-mounted panel follows the vehicle, not the sun.
At 100 watts, a portable panel in five good sun hours produces roughly 30 to 33 Ah accounting for efficiency losses. That covers a fridge's daily draw in good sun, but not a full 30 to 50 Ah fridge-plus-devices budget; that takes 200 watts.
Rigid Roof Rack-Mounted Panels
For overlanders who do not want to deal with deploying a panel at every camp, rigid panels mounted to a roof rack are the permanent solution. Renogy, Rich Solar, and Newpowa all make 100-watt and 200-watt rigid panels in the $100 to $220 range that mount to standard rack crossbars.
The efficiency advantage over portable panels is real but modest: 5 to 10% better output in identical conditions. The positioning disadvantage matters more in practice. A panel flat on a roof rack in a canyon is generating nearly nothing while a portable panel angled at the sun a hundred feet from the truck is working at full capacity.
The right application for roof-mounted panels is overlanders who make camp in open terrain, drive frequently during daylight hours generating alternator charge anyway, and value simplicity over optimization.
Hood-Mounted Semi-Flexible Panels
A growing niche in the truck overlanding community: semi-flexible panels mounted on the hood, wired to trickle-charge the starter battery while driving. Lensun and Solbian make hood-specific panels cut to fit common platforms. Output is 60 to 100 watts and the primary function is starter battery maintenance and offsetting alternator load rather than powering a serious aux battery system.
For a truck with a full aux battery system already in place, a hood panel adds a modest trickle charge that is more valuable as a driving conversation piece than as meaningful generation. For a truck without an aux battery, a hood panel keeping the starter battery healthy during a week of draining accessories is genuinely useful. This is a Tier 3 add-on, not a foundation.
The Charge Controller Decision: MPPT vs. PWM
If your solar panels connect to an auxiliary battery through a charge controller (rather than through an all-in-one unit like the Redarc BCDC), the controller type matters.
A PWM (pulse width modulation) controller is the simpler technology. It connects the panel directly to the battery and throttles output by switching the connection on and off rapidly. Cheap, reliable, and wasteful: it forces the panel to operate at battery voltage rather than its optimal output voltage, throwing away 10 to 30% of potential generation.
An MPPT (maximum power point tracking) controller actively finds the panel's peak output voltage and converts it down to battery voltage, capturing the power that a PWM controller discards. For a 100-watt panel in five sun hours, an MPPT controller might deliver about 32 Ah to the battery where a PWM controller delivers about 25 to 27 Ah. Over a week of camping, that difference compounds.
For any system with more than one 100-watt panel, MPPT is the correct choice. For a single 100-watt panel on a simple system, the cost premium of MPPT ($50 to $100 more than equivalent PWM) is justified by better performance in partial cloud, early morning, and late afternoon conditions when a PWM controller produces almost nothing and an MPPT controller is still harvesting.
The Victron SmartSolar MPPT 75/15 ($85) and the Renogy Wanderer 30A MPPT ($65) are the two most commonly used in overlanding builds. The Redarc BCDC1225D includes an MPPT controller built in, which is why it remains the most popular single-component solution for truck builds.
The Mistake That Kills Starter Batteries
One specific error deserves its own section because it affects a meaningful number of overlanders who bought a power station and assumed the problem was solved.
The factory 12-volt accessory port in most trucks is fused at 15 to 20 amps and typically protected by the vehicle's body control module to cut power when voltage drops to a level that might affect starting. If you run your fridge directly from the 12-volt port without an aux battery, you are depleting the starter battery. In mild weather with a short trip, you might never notice. In summer, after a long camp stay, or with an older battery, you will notice at the worst possible time.
The starter battery is not designed for deep cycling. It is designed to deliver a large burst of current to start the engine, then be immediately recharged by the alternator. Cycling it down to 50% repeatedly shortens its life significantly. This is why overlanders running any continuous load, whether a fridge, a compressor, or a radio, need either a power station with its own internal battery or a dedicated aux battery isolated from the starting circuit.
The Honest Buy Order
System Comparison Table
| System | Install Required | Fridge Runtime (no solar) | Recharge Source | Best For | Approx. Cost |
|---|---|---|---|---|---|
| Power Station (1000Wh) | None | 3-4 days | 12V port + solar + AC | Weekend trips, flexibility | $950-$1,500 |
| Power Station + DCDC charger | Basic wiring | 3-4 days | Fast alternator + solar | Weekend to week, flexibility | $1,100-$1,700 |
| 100Ah LiFePO4 + DCDC + 100W solar | Full install | 2 days reserve | Alternator + solar | 4+ day trips, integrated | $770-$1,200 |
| 100Ah LiFePO4 + DCDC + 200W solar | Full install | 2 days reserve | Alternator + solar | Week+ trips, reliable | $900-$1,500 |
| 200Ah LiFePO4 + DCDC + 200W solar | Full install | 4+ days reserve | Alternator + solar | Extended off-grid, full builds | $1,400-$2,200 |
The Bottom Line
Van life solar math does not apply to a Tacoma running a fridge and a couple of devices. The numbers for a truck overlanding setup are far more manageable than most people realize, and the system options are clearer than the content ecosystem suggests.
Start by calculating your actual daily amp-hour consumption. A 50-liter fridge plus device charging is typically 30 to 50 Ah per day. Size your battery to cover one to two days without recharge. Size your solar to cover your daily consumption with a reasonable margin on a typical weather day, not a perfect day.
If you are doing weekend trips and want zero installation: a 1000Wh power station plus a 100-watt portable panel is a complete, functional system. If you are doing week-long trips and want the system integrated into your rig: 100Ah LiFePO4, a Redarc BCDC1225D, and 100 to 200 watts of solar handles it cleanly.
The rest is optimization. Optimization is worth less than simply getting a functional system in your truck and going.