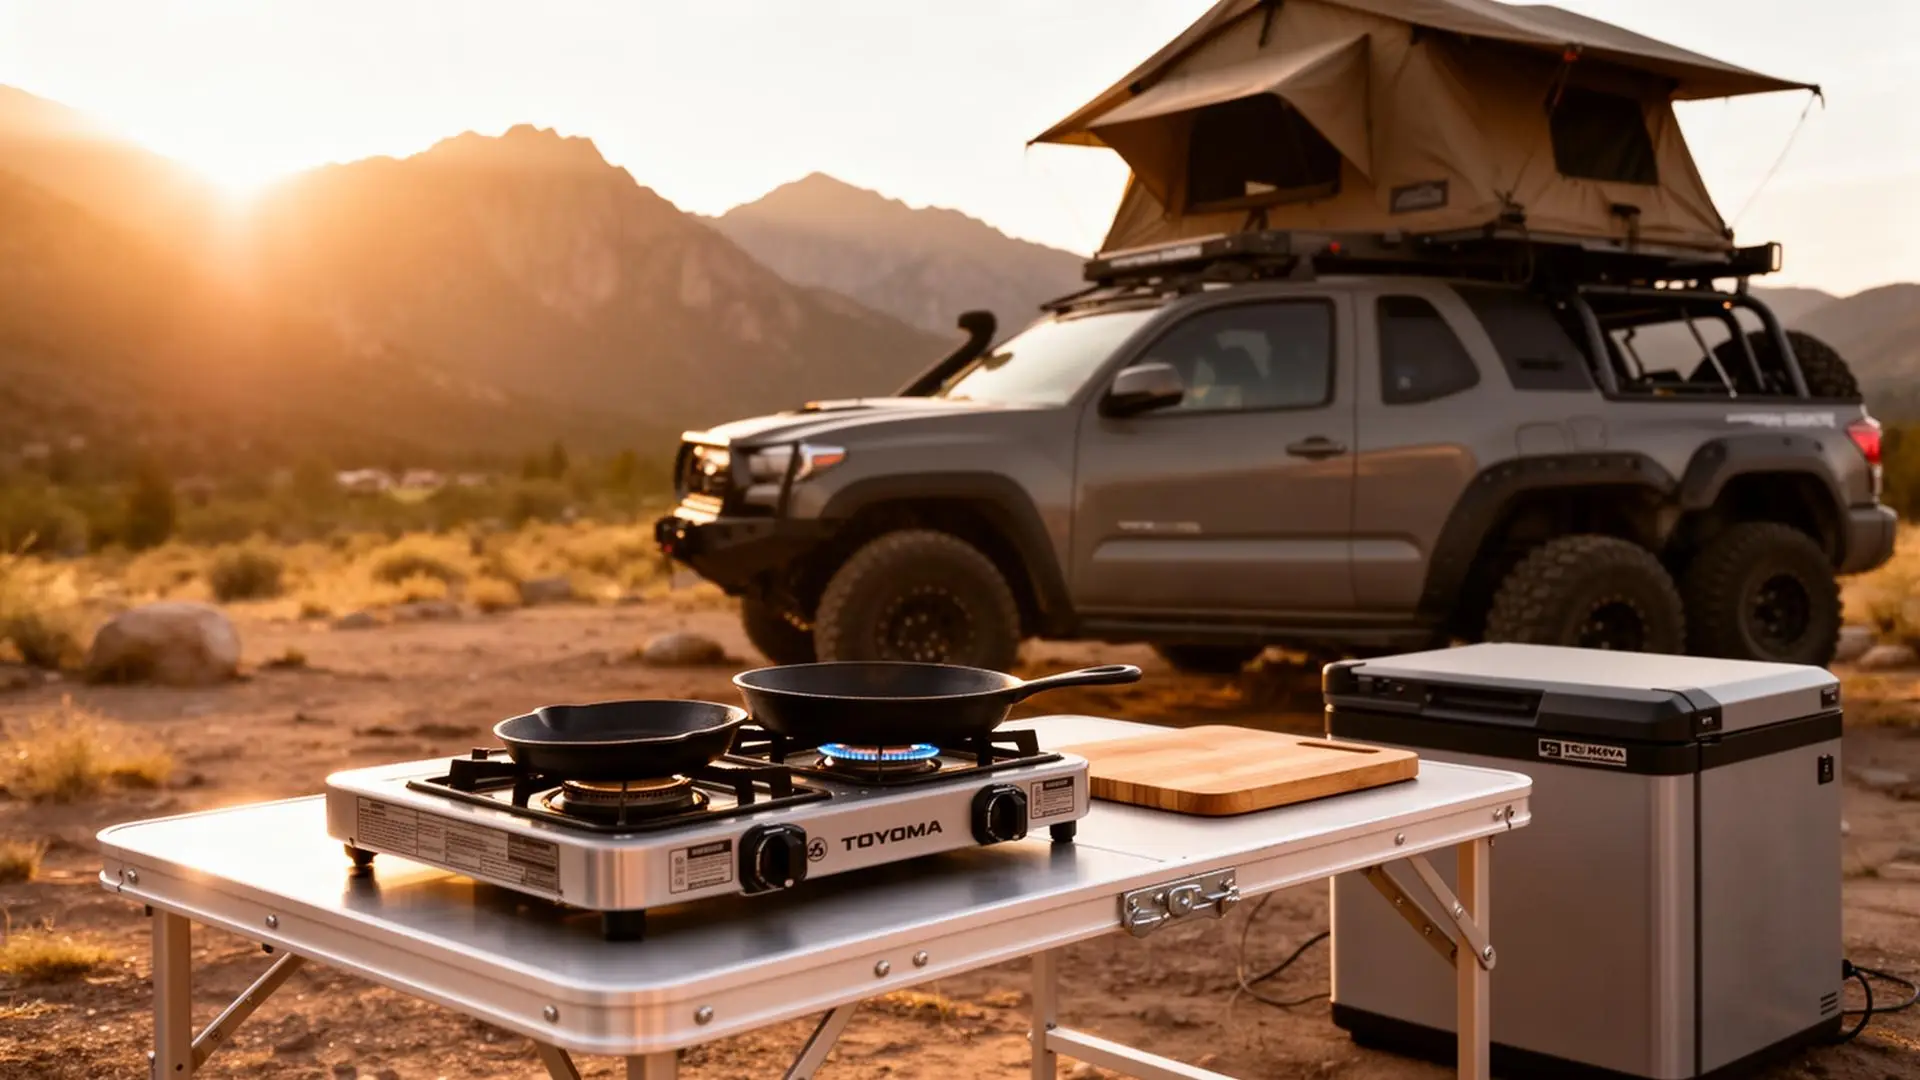
The first serious camp meal most overlanders attempt is pasta. It boils over, the pot lid rolls under the truck, the cutting board is buried under the recovery gear, and the headlamp you need is in the bag you need to move to get the headlamp. By the time dinner is ready, it is dark, one burner is clogged, and someone has used the camp knife to open a can.
The problem is not the cooking. It is the setup. A camp kitchen that works is not about having the most gear. It is about having the right gear arranged in the right order, in a space you have actually thought about before pulling off a dirt road at 7,000 feet.
This guide builds the kitchen from the ground up, honest about what matters and what is Instagram furniture.
The Three Zones Every Overlanding Kitchen Needs
Before you spend a dollar, think in zones. Every functional camp kitchen, regardless of budget, has three distinct spaces that need to be physically separate and accessible at the same time.
The fire zone is where the stove lives. It needs clearance from flammable surfaces, access to fuel, a stable platform, and enough space to put a pot lid down without it rolling off a cliff. This is where most camp kitchens fail: the stove is balanced on a cooler lid, and the moment anyone touches the cooler, the stove moves.
The prep zone is a flat, clean, dedicated surface for cutting, mixing, and plating. It needs to be adjacent to the fire zone without being on it. Most overlanders discover this zone is missing only when they are trying to chop an onion on the passenger seat of their truck.
The water zone is where you clean dishes, rinse produce, and wash hands. It does not need to be elaborate. It needs to exist, and it needs to be positioned downwind of everything else so you are not rinsing into your prep space.
Build around these three zones and every piece of gear you buy has a logical home. Skip this thinking and you will have $800 worth of equipment that still requires twenty minutes of reorganization before every meal.
Tier 1: The Functional $180 Kit
This is where most people should start and where many experienced overlanders actually live. It works on any trail, sets up in under three minutes, and has no dependencies on shore power, specialized mounting hardware, or a truck with a drawer system.
The stove: A two-burner propane camp stove is the foundation. The Camp Chef Everest 2X at around $130 is the benchmark: 20,000 BTUs per burner, push-button ignition, folding windscreens, and a build quality that holds up to years of trail use. The Coleman Classic is the budget alternative at $60 and is genuinely reliable for moderate use. Avoid any stove rated under 8,000 BTUs per burner unless you enjoy waiting.
One fuel note worth taking seriously: propane works in cold weather and at altitude. Butane fails at freezing temperatures and loses performance above 8,000 feet. If you are camping in the mountains, propane is the only correct answer for a primary stove. Isobutane canisters (JetBoil, MSR) perform better than butane in the cold but still degrade at high altitude. For the kitchen stove that feeds people every night, propane is your fuel.
The prep surface: A folding table that is actually stable is one of the most underrated pieces of camp gear. The Coleman Pack-Away folding table or any similar aluminum-leg design at $40 to $60 gives you a dedicated prep surface that is not your tailgate, your cooler lid, or someone's chair. Put the stove on one end and prep on the other. This single decision solves 80% of camp kitchen chaos.
The cooler: A 45 to 65-quart hard-sided cooler holds enough food for a weekend for two people with ice-to-food ratio that actually keeps things cold. RTIC, Canyon Cooler, and similar brands perform close to the Yeti benchmark at roughly half the price. At this budget tier, bring a good rotomolded cooler, pre-chill it for 24 hours before loading, and freeze proteins before packing. A good cooler loaded correctly outperforms a mediocre fridge.
The kitchen kit: A 4-quart pot with a lid, a 10-inch cast iron skillet (cheap and bomb-proof), a chef's knife, a cutting board, a spatula, tongs, a can opener, a camp mug, and two to three camp bowls cover 95% of overlanding meals. Pack them in a single dry bag or a soft-sided organizer. Total cost: $60 to $80 if you shop smart.
Tier 2: The Capable $200-$800 Upgrade
This is where the kitchen gets genuinely comfortable. The changes here are about reducing friction, not about adding capability you do not actually need.
The portable fridge: Upgrading from a cooler to a 12-volt compressor fridge is the single biggest quality-of-life improvement in any overlanding kitchen. The math is simple: no ice, no ice melt, no re-icing every two days, cold food for as long as the trip lasts.
The honest breakdown on brands: Dometic and ARB are the two names that dominate for good reason. The Dometic CFX3 series runs $700 to $1,100 depending on size, draws around 0.6 to 0.8 amp-hours per hour at typical duty cycles, and has Bluetooth connectivity and a genuinely useful app. The ARB 50-liter runs $900 and draws similarly, with a reputation for outlasting 15-year warranties in real-world use. BougeRV and Iceco offer dual-zone fridge-freezer units at $350 to $550 that represent legitimate value for people who do not need to run a fridge 365 days a year.
The power draw question matters. A 50-liter fridge at moderate ambient temperature draws roughly 0.7 amp-hours per hour, which is about 17 amp-hours per day. Your truck's alternator handles this easily while driving. For camp, you need an auxiliary battery or solar to run it overnight without touching your starting battery. Budget this into the fridge decision before you buy.
The two-burner upgrade: If you cook for more than two people regularly, a larger two-burner with a dedicated griddle plate is worth considering. The Camp Chef Explorer with the propane griddle attachment runs $200 and opens up breakfast foods, smash burgers, and quesadillas at camp that a round pot cannot manage.
The water jug and filter: A seven-gallon Aqua-Tainer or similar rigid water jug at $20 is the baseline for water storage. For filtration at the source, a Sawyer Squeeze or MSR Guardian handles stream and lake water. For camp water that goes into cooking and cleaning, a gravity filter hung from your roof rack or a tree fills a clean water jug while you do other things. The Platypus GravityWorks is the gold standard at $70 for camp filtration. You need, at minimum, three to four liters of water per person per day for drinking and cooking, plus one to two liters for dishes. On hot days and at altitude, double those numbers.
Tier 3: The Integrated $800-$3,000 System
This is where camp kitchens stop being equipment and start being infrastructure. The integrated slide-out systems from ARB, Goose Gear, and Overland Vehicle Systems are genuinely impressive pieces of engineering. They are also genuinely expensive and require a truck or SUV with the cargo capacity and mounting hardware to support them.
ARB Slide Kitchen: The ARB system mounts in your truck bed or cargo area and swings out into an L-shaped cook station. It includes a two-burner propane stove, a stainless steel bench, a sink basin, and a storage drawer. It sets up in fifteen seconds. It is $2,200 to $2,500 depending on configuration. The bench is proper 304 stainless, the slides are smooth, and it is clearly designed by people who cook outside regularly.
Goose Gear galley systems: Goose Gear builds vehicle-specific interior modules for 4Runners, Tacomas, Wranglers, and other platforms. Their kitchen modules typically pair with a National Luna or Dometic fridge, a Cook Partner two-burner stove, and a drawer system underneath. Pricing runs $1,500 to $2,500 for the kitchen module before the fridge and stove. These systems lock into the vehicle permanently and are designed for people who use their rig as a primary overlanding platform, not a daily driver that occasionally goes camping.
The honest case against integrated systems for most overlanders: If you are doing weekend trips, occasional long weekends, and one or two week-long overlands per year, the ROI on a $2,500 galley system is hard to justify. A Tier 2 kit at $700 to $800 total cooks the same food with five more minutes of setup. The integrated system saves time and frustration on back-to-back nights in camp. If you are doing 60-plus nights a year, it pays for itself in sanity. If you are doing twelve, it is a lifestyle purchase and you should be honest with yourself about that.
The Honest Buy Order
The Thing Most Camp Kitchen Articles Will Not Tell You
The biggest problem in most overlanding camp kitchens is not the stove. It is not the cooler. It is dish cleaning, and nobody talks about it seriously.
Washing dishes on trail means managing grey water correctly. On BLM land and national forest, grey water from dishwashing should be dispersed at least 200 feet from water sources, trails, and campsites. This means you need a designated grey water container or a spot to scatter it. It means biodegradable soap (Dr. Bronner's is the overlanding standard). It means a two-basin system: one basin for hot soapy wash water and one for rinse. It means having a small folding dish rack or a mesh bag that hangs from something.
This is not complicated. But it is the thing that turns a functional camp kitchen into one that leaves no trace and does not make your camp smell like a garbage disposal by day two.
Get a two-pack of folding silicone wash basins from any camping retailer for $15. Put one in your kitchen kit. You will use it every single trip.
Fuel Math: How Much Propane to Bring
A standard one-pound propane canister produces roughly 21,000 BTUs. A two-burner stove at moderate heat uses about 14,000 BTUs per hour combined. That means one one-pound canister gives you roughly 1.5 hours of cooking time at moderate heat.
For a solo overlander cooking twice a day, one canister lasts about two days. For two people cooking serious meals, count one canister per day. Bring one more than you think you need.
For trips longer than a week, a 20-pound refillable tank with a low-pressure regulator and a hose adapter is the correct solution. A 20-pound tank holds approximately 430,000 BTUs. At moderate cooking use, that is 30-plus days of camp cooking. It mounts in a truck bed or on an external carrier, and the per-BTU cost is far lower than disposable one-pound canisters.
Choosing the Right Stove
Two-burner propane is the overlanding standard: fuel is sold at every gas station, it lights instantly and it cooks real meals for groups. Beyond the Camp Chef Everest 2X, Partner Steel builds commercial-grade two-burner stoves in Idaho that cost more ($250+) but are essentially buy-it-for-life gear. A single-burner butane stove like the Iwatani 35FW (under $30) makes a great secondary or solo stove, but butane struggles to vaporize below 40°F. For trips where propane canisters are not available (Baja, South America, remote Africa), multi-fuel stoves like the MSR Dragonfly or Primus OmniFuel II burn white gas, kerosene or even diesel, at the cost of more maintenance and priming.
Safety Note
Water Systems: From Basic to Luxurious
Most overlanders progress through three levels:
- Level 1, jerry cans: two 5-7 gallon Scepter or Wavian cans, a collapsible wash basin and biodegradable soap.
- Level 2, gravity-fed: mount a container above the kitchen area; a simple valve and food-grade tubing gives you a hands-free rinse station for under $50.
- Level 3, 12V pump sink: a small 12V pump, tank and basin create a sink with on-demand water. Several slide-out kitchens include one, and a marine galley pump works for DIY setups.
For the kitchen alone, plan for 1 gallon per person per day for cooking and cleaning, separate from drinking water. A group of four on a three-day trip needs at least 12 gallons just for the kitchen.
Cold Storage: Cooler vs. 12V Fridge
Trip length decides this. For weekends, a YETI Tundra 45, RTIC 45 or Pelican 50QT holds ice for 5-7 days if you pre-chill it, use block ice and keep it out of direct sun, with no wiring or power draw. Past four days, a 12V compressor fridge like the Dometic CFX3 45 or ARB Elements 47L holds precise temperatures indefinitely and draws 40-60W when the compressor cycles on. Pair it with a 100Ah lithium battery and a modest solar panel for weeks of cold food without ice runs.
Overlanding Camp Kitchen Comparison
| System | Setup Time | Cold Storage | Approx. Cost | Best For |
|---|---|---|---|---|
| Tier 1: Stove + folding table + cooler | 3-5 min | Hard cooler, ice | $180-250 | Weekend trips, beginners |
| Tier 2: + 12V fridge + upgraded stove | 5-8 min | Compressor fridge | $700-1,000 | Multi-day, no ice runs |
| Tier 2+: + aux battery + solar | 5-8 min | Unlimited | $1,200-1,800 | Week-long self-sufficient |
| Tier 3: ARB Slide Kitchen integrated | 15-30 sec | Compressor fridge | $2,500-3,500+ | 40+ nights/year, serious builds |
| Tier 3: Goose Gear vehicle module | Permanent | Compressor fridge | $3,000-5,000+ | Full platform builds |
The Spice Kit (Do Not Skip This)
A well-stocked spice kit is the fastest way to upgrade camp cooking. Decant into small Nalgene bottles: salt and pepper grinders, garlic and onion powder, smoked paprika, cayenne or red pepper flakes, Italian seasoning, cumin and chili powder, cinnamon and brown sugar, olive oil in a leak-proof bottle, and your favorite hot sauce.
Camp Coffee: The Sacred Ritual
A percolator (GSI Outdoors or Stanley) is simple, rugged and good for groups. A pour-over cone (GSI Ultralight Java Drip) makes cleaner coffee for one or two, best with a gooseneck kettle. An AeroPress makes cafe-quality single servings in 2 minutes. A stainless or insulated French press (Stanley or Bodum Travel) serves 2-4 people. Cowboy coffee needs zero equipment. Pre-grind at home and store it in an airtight container.
Cleaning Supplies
On top of the two-basin system and biodegradable soap above, pack a stiff scrub brush for cast iron and a sponge for everything else, 2-3 quick-dry microfiber dish towels, a mesh drying bag to hang washed dishes, and heavy-duty trash bags. Pack out everything.
Overlanding Kitchen Checklist
Cooking
- Two-burner propane stove + fuel
- Cast iron skillet (10" or 12") or hard-anodized pan
- Nesting pot set
- Dutch oven (trips over 2 nights)
- Chef's knife in sheath
- Cutting board
- Tongs, spatula, spoon, ladle
- Can opener and bottle opener
- Fire starter and lighter
- Aluminum foil
Eating and Drinking
- Plates and bowls (enamelware or melamine)
- Insulated mugs and reusable cups
- Reusable utensil sets
Food Storage
- Cooler or 12V fridge
- Stackable, labeled dry goods containers
- Spice kit in small bottles
- Olive oil in a leak-proof bottle
- Reusable zip bags or silicone bags
Cleaning
- Biodegradable dish soap
- Scrub brush and sponge
- Collapsible wash basins (2)
- Dish towels and paper towels
- Trash bags (pack it out, always)
Water
- Jerry cans (10-14 gallons total)
- Water filter for resupply (Sawyer or Katadyn)
- Collapsible water container for camp use
Coffee
- Coffee maker (your preferred method)
- Kettle
- Pre-ground coffee in an airtight container
Comfort and Safety
- Camp table or prep surface
- LED lantern for evening cooking
- Fire extinguisher
- First aid kit accessible from the kitchen area
The Bottom Line
A camp kitchen that works is not about spending more. It is about thinking clearly about the three zones before you pack anything, buying gear that has a specific job, and not duplicating tools because a single good knife and a single good pot handle more scenarios than a full kit of mediocre equipment.
Start with Tier 1. Cook on it for a full season. You will know exactly what is frustrating you by the end of your third trip, and those frustrations are worth spending money to solve. The overlander who buys a $2,500 ARB kitchen on their second trip and then realizes they hate cooking at camp anyway has spent money that could have bought three months of trail access.
Build the kitchen around the food you actually want to eat. Everything else is logistics.