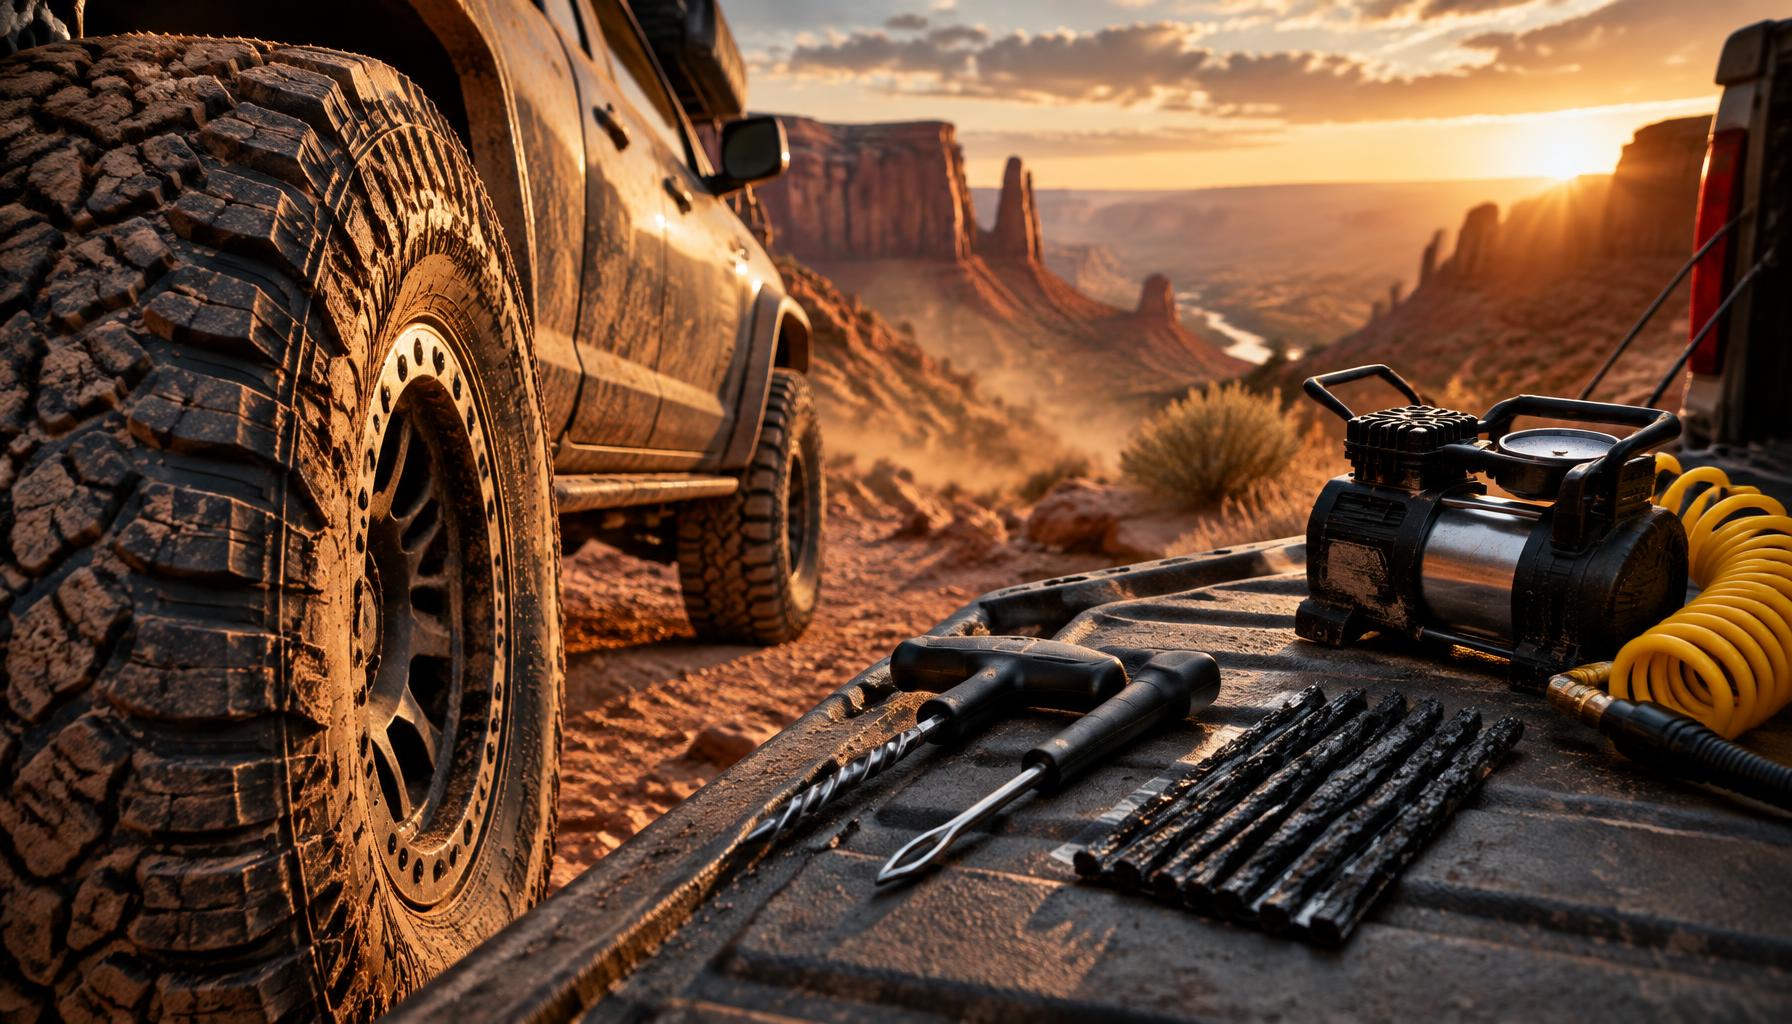
Not a product podium. A trailside decision system for nails, screws, and the puncture that eats your only spare.
Quick Answer: The smart overlanding tire repair kit is a metal-handled rope plug kit (ARB Speedy Seal or Safety Seal class) with a 12V compressor, for tread punctures under about 1/4 inch only. The trap is a plastic $15 kit, CO2 for 35s, or treating a sidewall stack as finished. A trail plug buys the ride home, not a shop-approved tire.
You are twenty miles past the last cattle guard, aired down to 18 PSI like the air-down guide taught you, when the truck lists hard on a washboard. The tire is soft, then soft enough to smell rubber. Somewhere in the tread a screw finally finished the job it started on the highway. You have one spare, no cell, and a glovebox full of optimism. This is the moment an overlanding tire repair kit stops being Amazon filler and becomes the reason you still have a weekend.
Why an Overlanding Tire Repair Kit Belongs Next to Air Management
Airing down buys traction. Watching pressure (TPMS-class gear) tells you which tire is lying. Neither puts rubber back in the hole. Our essential overlanding gear list and recovery gear guide already treat a plug kit as Tier 1 alongside boards and a compressor. That is not product theater. On rocky desert loops and cactus country, a tread puncture shows up more often than a winch pull.
Most kit pages skip the reinflation math and the decision that actually strands people: plug versus spare versus limp, and whether pocket CO2 can refill a 35.
A plug kit seals a small tread puncture with the wheel still on the truck, buys the drive to pavement without burning the spare on a nail, and pairs with a compressor so the repair is not a flat sculpture. It does not make a sidewall gash highway-legal or industry-approved. Skip the compressor and trust CO2 for truck tires, and you bought a conversation starter, not an exit plan.
A Trail Plug Is Transport, Not a Finished Repair
This is the sentence the kit photo hopes you skip.
American tire industry guidance from the U.S. Tire Manufacturers Association and the Tire Industry Association treats an outside-in rope plug as temporary at best. USTMA language is blunt: never perform an outside-in or on-the-wheel repair as a finished job, and a plug alone or a patch alone is not acceptable. The permanent repair is a combination plug-patch from the inside after the tire comes off the rim. Inspect the innerliner, fill the channel so moisture cannot rust the belts, and seal the liner. Your trailside cord buys the drive home. It does not retire the tire from needing a shop.
People run plugs for years with no drama. People also find a slow leak three states later, or a belt failure that started as a reamed hole that never got an inner seal. Both stories are real. The bounded rule is boring and correct: plug the crown to get out, then schedule the inside repair before the next remote loop. Treat "it held last summer" as luck, not a warranty.
Sidewall and shoulder flex every rotation. Industry rules put them out of service for approved repair. Stacked cords, wire stitches, or an external patch (GlueTread class) may limp you off a trail at walking speed with pressure checks every mile, then a new tire before any highway. Calling a sidewall stack "repaired" is how you import a blowout into traffic.
How an Overlanding Tire Repair Kit Actually Works
Plug types, translated to Saturday
| Kit class | What it is | Trail job | Real-world limit |
|---|---|---|---|
| Rope / self-vulcanizing cord (ARB Speedy Seal, Safety Seal, MORRFlate, Rhino-class) | Sticky string forced through the puncture from outside | Default for trucks and Jeeps; stackable on ugly holes | Temporary per industry language; needs compressor after |
| Mushroom / stem plug (Stop & Go class) | Plug with a head that seats against the innerliner | Clean small punctures; neat seal when it seats | Needs a larger prepared hole; less forgiving on gashes |
| Fast stick systems (Dynaplug class) | Pre-loaded metal or composite stem, tiny kit | Motorcycle / small clean holes; glovebox speed | Not the first pick for shredded LT tread |
| External sidewall patch (GlueTread class) | Adhesive rubber patch over a tear | Emergency sidewall limp off trail | Off-road escape only; not a shop-approved highway repair |
| Slime / sealant cans | Liquid sealant through the valve | Highway temporary for tiny leaks | Messy for TPMS sensors; poor answer for big trail cuts |
For most overlanding trucks and SUVs, rope cord with metal T-handles is the smart default. The ARB Speedy Seal Series II ships steel reamer and insertion tools, 40 cords, spare valve stems, a gauge, and a case that survives a bed. Safety Seal class kits follow the same metal-tool idea. Plastic reamer handles snap on a cold LT sidewall, and then you are holding a sharp rod with no leverage. r/overlanding kit threads repeat that pattern with boring consistency.
What belongs in the bag (checklist)
- Metal T-handle reamer and insertion tool (not plastic)
- 30+ self-vulcanizing cords (40 to 50 is better; top off after every use)
- Rubber cement or kit lubricant
- Needle-nose pliers, razor blade, spare valve cores, 4-way valve tool
- Two spare rubber valve stems (rocks shear stems as often as nails hit tread)
- Quality pressure gauge
- Soapy water bottle for leak finding
- Gloves
- A 12V compressor sized for your tires (the kit without air is half a plan)
Skip the fantasy that eight 16-gram CO2 cartridges replace that compressor on 35s. The napkin math below is why.
Plug versus patch versus stitch, in plain language
A plug (outside-in cord) seals the channel fast with the tire mounted. That is the trail tool. A patch or combination plug-patch seals from the inside after demount. That is the shop tool. A stitch (wire, stacked plugs, external patch) sometimes limps a sidewall home. It is not what a reputable shop stamps as roadworthy.
Napkin Math: Reinflation, CO2 Counts, and Time
The plug takes minutes. The air-up decides whether you drive out. Approximate internal volumes (ballpark, construction varies): a ~33-inch LT around 55 liters, a 35x12.50R17 around 70 liters, a 37 around 85 liters. Free air needed scales with pressure change: roughly volume times PSI change divided by 14.7.
| Tire (approx) | 0 to 18 PSI (trail) | 18 to 35 PSI (highway) | 0 to 35 PSI (from flat) | ~16g CO2 cartridges (rough) for 0 to 35 |
|---|---|---|---|---|
| ~33-inch LT | ~67 L free air | ~64 L | ~131 L | ~16 cartridges |
| 35x12.50R17 | ~86 L | ~81 L | ~167 L | ~21 cartridges |
| 37x12.50R17 | ~104 L | ~98 L | ~202 L | ~25 cartridges |
A 16-gram CO2 cartridge yields about 8 liters of free gas at standard conditions (16 g of CO2 at ~44 g per mole, ~22.4 L per mole). That is a bicycle and small motorcycle tool. On a 35 from flat to highway pressure you are looking at roughly twenty cartridges on paper before cooling losses and leaks during the plug. From flat to ~18 PSI trail pressure you are still around ten or more. The eight-pack that looks clever on a UTV shelf is a rounding error on a truck tire.
Compressor time is the honest alternative. With the valve core pulled and a strong portable unit averaging near 1.5 CFM, a 35 from near empty to highway pressure is often about four minutes of flow. A budget unit closer to 0.8 CFM stretches toward seven or eight minutes, and real trail times run longer with heat soak and hose restrictions. Pull the core for the bulk fill, reinstall, then finish to the gauge.
Translation: plugs plus CO2 and no compressor can seal a nail and still leave you flat. Pair the overlanding tire repair kit with air you can make all afternoon.
Decision tree for the puncture in front of you
| What you see | Do this | Do not do this |
|---|---|---|
| Screw or nail in the tread crown, hole under ~1/4 inch | Plug, reinflate to trail PSI, crawl a mile, recheck | Yank the object before you are ready to plug |
| Hole near the shoulder or larger than a pencil body | Mount the spare | Force three cords and hope |
| Sidewall cut or bulge | Spare first; external patch / stitch only as walking-speed limp | Highway speeds on a stacked sidewall |
| Torn valve stem, bead still seated | Swap stem, reinflate | Keep dumping air past a dead core |
| Bead unseated | Soapy bead seats, careful air-up within safe mounting pressures | Ether or flammable "bead blaster" tricks |
USTMA and TIA style limits to memorize: repairable zone is the tread crown (about an inch or more inboard of the shoulder), max puncture about 1/4 inch (6 mm), no repair on shoulder or sidewall for approved road use, and no repair over an existing repair. A wooden pencil is roughly 7 to 8 mm across. If the hole looks like the pencil body, it is already outside the clean repair window.
Honest Warts (Where Kits and Heroes Fail)
Plastic tools snap. Reaming a cold LT tire takes force. Budget kits with toy handles fail on use one.
Sealant cans complicate the shop inspection you still need and hate TPMS sensors. Fine as a last-ditch highway limp on a commuting car. Poor primary plan for a remote 35.
CO2 feels fast and dies fast. Pressure falls as the cartridge cools the tire, then creeps as temperature equalizes, then often bleeds. It is a motorcycle trick wearing a truck costume.
GlueTread and stitch jobs need a clean, dry surface and time to cure. Dust and cactus goo make them finicky. Even a good external patch is an escape tool. Demote that tire before pavement.
Leaving the nail in "until later" works only if it is not leaking and you are minutes from pavement. On a multi-day loop, later is an empty tire at 2 a.m.
Skipping the spare because the brochure said you could is the expensive fantasy. Two flats still happen. Sidewalls still happen. Carry the spare. Use the plug to save it for the failure that cannot be plugged.
Verdict Table: What to Buy
| Decision for an overlanding tire repair kit | Smart default (Sept 2026 street ballpark) | Skip |
|---|---|---|
| Primary trail kit | ARB Speedy Seal Series II (~$55, 40 cords, metal tools, gauge, valve bits) or Safety Seal / MORRFlate-class metal rope kit ($40 to $60) | Plastic T-handle Amazon specials under $20 |
| Compact backup | Small Stop & Go or Dynaplug-style for clean holes on a second vehicle or bike | Calling the compact kit your only truck plan |
| Sidewall emergency add-on | GlueTread-class patch kit if you run remote rock and already own plugs + compressor (~$50) | Using it as permission to leave the spare at home |
| Air supply | 12V compressor matched to tire volume | CO2-only reinflation for 33s and up |
| After the trip | Shop combination plug-patch | "It held, so ship it" as a remote-travel policy |
Prices move. The class matters more than the logo: metal tools, enough cords to last a season, valve stem spares, and a case that survives a bed. Buy the class and practice once in the driveway.
Who Should Buy Which Setup
Buy the metal rope kit plus compressor if you air down, leave pavement, and already treat recovery gear as mandatory. That is most readers of this site.
Add a sidewall emergency patch kit if you run sharp rock remote enough that a second tire failure is plausible, and you accept limp-only rules.
A compact mushroom or Dynaplug kit alone is enough if you are packing a motorcycle or a grocery-run glovebox fix, not a desert exit plan.
Who should not pretend a plug kit replaces a spare: anyone on a solo remote loop, anyone on 37s in sidewall-shred country, anyone towing where a second flat ends the weekend. The plug saves the spare. It does not delete it.
Bottom Line
Buy an overlanding tire repair kit for the ride home, not for a fantasy of never needing a spare. Default to a metal rope plug kit with enough cords to last a season, practice one plug in the driveway, and pair it with a compressor that can refill your actual tire size. Plug only the tread crown under about a quarter inch. Hand the tire to a shop for a real inside repair before the next remote trip. Leave CO2 to bikes and UTVs. Leave sidewall heroics at walking speed. The cheap way to strand a weekend is sealing the hole and discovering you still cannot make air.
Go first. Upgrade with purpose.
Related Reading and Tools
- How to Air Down Tires Off-Road (PSI Guide)
- Essential Overlanding Gear Guide 2026
- Overlanding Recovery Gear Guide
Run tire size and air-down numbers in our first-party tools before you trust a pocket CO2 pack. No cart. Just math.